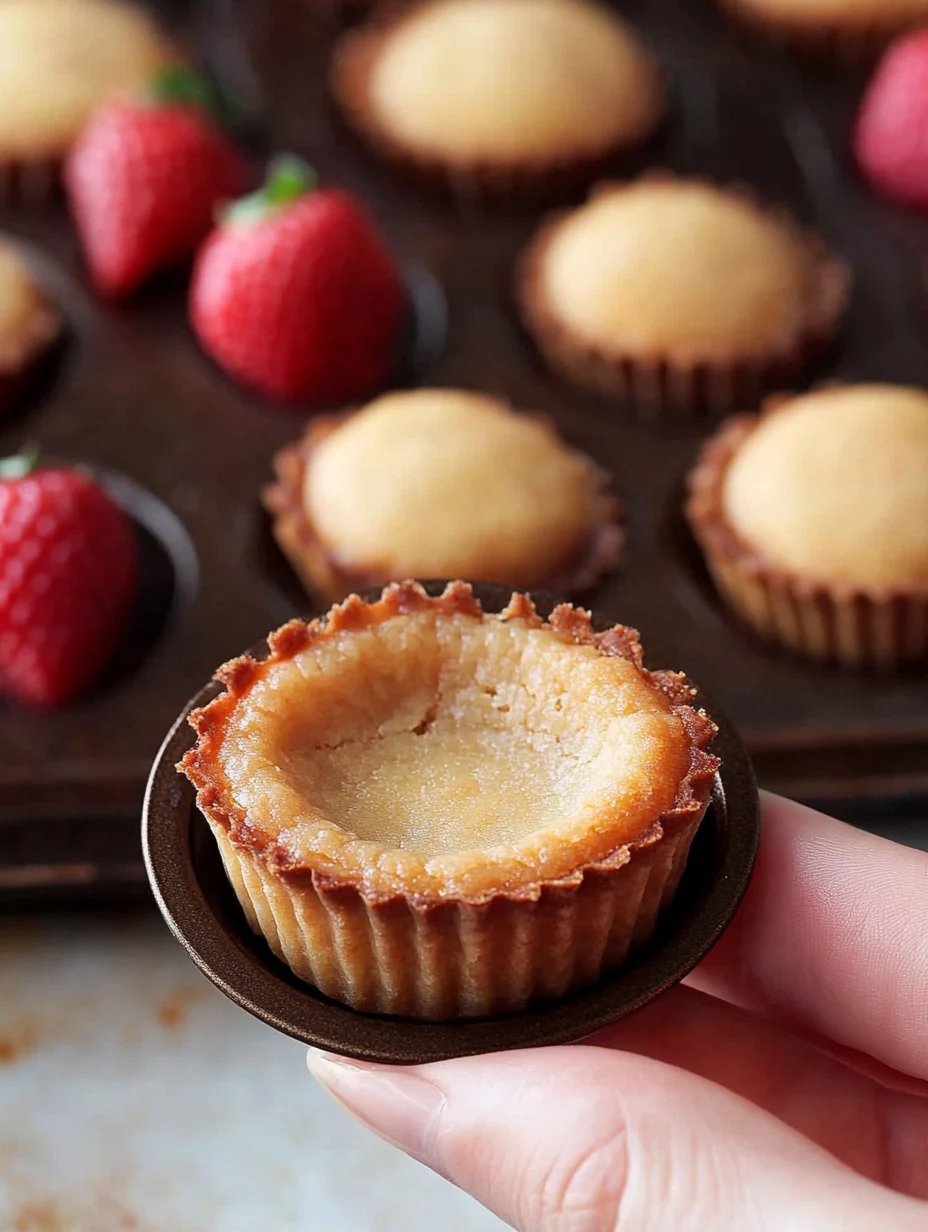
Mini Tart Shells in a Muffin Pan
Highlighted under: Sweet Comfort Classics
Create delightful, bite-sized treats with these easy-to-make Mini Tart Shells in a Muffin Pan. Perfect for filling with your favorite sweet or savory fillings, these versatile shells are a fantastic addition to your holiday dessert table. Impress your guests with these scrumptious mini tarts that are not only simple to prepare but also perfect for holiday entertaining.
These Mini Tart Shells are a delightful way to bring a creative touch to your gatherings. Whether you want to fill them with pastry cream, fruits, or savory mixtures, they will surely impress!
Perfect for Any Occasion
Mini tart shells are ideal for a variety of occasions, from formal gatherings to casual get-togethers. Their bite-sized nature makes them a convenient choice for party platters, allowing guests to easily sample different flavors without the fuss of cutting larger desserts. You can fill these delectable shells with anything from chocolate ganache to savory quiches, making them a versatile option that everyone will appreciate.
Moreover, these mini tarts are a great way to showcase seasonal ingredients. Spring berries, summer fruits, and autumn spices can all be incorporated into your filling to suit the time of year. Emphasizing seasonal flavors not only enhances the taste but also adds a beautiful, fresh touch to your dessert table.
Get Creative with Fillings
One of the best aspects of using mini tart shells is the endless possibilities for fillings. Whether you’re in the mood for sweet or savory, the options are vast. For sweet tarts, consider classic options like pastry cream, fruit marmalade, or whipped cream topped with fresh fruits. For savory varieties, think about rich cheeses, roasted vegetables, or even a delightful spread of hummus.
These mini shells can serve as a canvas for your culinary creativity. Experiment with flavors, textures, and presentations to make your tarts distinctive. Adding herbs or spices to your fillings can transform a simple recipe into an extraordinary dish, ensuring your mini tarts stand out and impress.
Tips for Success
To ensure the success of your mini tart shells, it’s essential to handle the dough with care. Avoid overmixing once you add the flour, as this can lead to tough shells. Instead, mix until just combined to keep the texture tender and flaky, which is crucial for the overall enjoyment of your tarts.
Additionally, make sure to properly grease your muffin pan to prevent sticking. Silicone muffin pans are also a great alternative if you want an easy release. Allow the shells to cool completely before attempting to remove them from the pan, as this helps maintain their shape.
Ingredients
Gather all the necessary ingredients before you start.
For the Tart Shells
- 1 cup all-purpose flour
- 1/2 cup unsalted butter, softened
- 1/4 cup powdered sugar
- 1 egg yolk
- 1/4 teaspoon salt
Make sure to prepare your fillings in advance to speed up the process!

Instructions
Follow these simple steps to create your mini tart shells.
Prepare the Dough
In a bowl, mix the softened butter and powdered sugar until creamy. Add the egg yolk and beat until combined. Stir in the flour and salt until a dough forms.
Shape the Tarts
Preheat your oven to 350°F (175°C). Grease the muffin pan. Divide the dough into 24 small portions and press each portion into the cups of the muffin pan, forming a shell.
Bake
Bake in the preheated oven for 15-20 minutes or until the edges are golden. Let cool before removing from the pan.
Once cooled, fill your tart shells with your favorite sweet or savory fillings and enjoy!
Pro Tips
- For a crispier shell, you can blind bake the shells before adding fillings.
Storage Suggestions
If you're preparing these mini tart shells ahead of time, store them in an airtight container at room temperature for up to three days. Keeping them sealed will help maintain their crisp texture and prevent them from becoming soggy, especially when filled. If you need to keep them longer, consider freezing the unfilled shells.
To freeze, place the cooled tart shells in a single layer in a freezer-safe container, separating layers with parchment paper. They can be stored for up to a month. When you're ready to use them, simply thaw at room temperature, fill with your desired filling, and serve.
Pairing Suggestions
Wondering what to serve with your mini tart shells? If you've chosen sweet fillings, consider pairing them with a dollop of whipped cream or a scoop of vanilla ice cream for an extra indulgence. Fruit-based tarts can also be complemented with a drizzle of flavored syrup or a sprinkle of crushed nuts to enhance texture and flavor profiles.
For savory tarts, think about serving them with a side salad or a dipping sauce to elevate the meal. A light vinaigrette can provide a refreshing contrast to a rich filling, making your mini tarts a well-rounded dish during gatherings.
Questions About Recipes
→ Can I freeze the tart shells?
Yes, you can freeze the unbaked shells or filled tarts for later use.
Mini Tart Shells in a Muffin Pan
What You'll Need
For the Tart Shells
- 1 cup all-purpose flour
- 1/2 cup unsalted butter, softened
- 1/4 cup powdered sugar
- 1 egg yolk
- 1/4 teaspoon salt
How-To Steps
In a bowl, mix the softened butter and powdered sugar until creamy. Add the egg yolk and beat until combined. Stir in the flour and salt until a dough forms.
Preheat your oven to 350°F (175°C). Grease the muffin pan. Divide the dough into 24 small portions and press each portion into the cups of the muffin pan, forming a shell.
Bake in the preheated oven for 15-20 minutes or until the edges are golden. Let cool before removing from the pan.
Extra Tips
- For a crispier shell, you can blind bake the shells before adding fillings.
Nutritional Breakdown (Per Serving)
- Calories: 100